 |
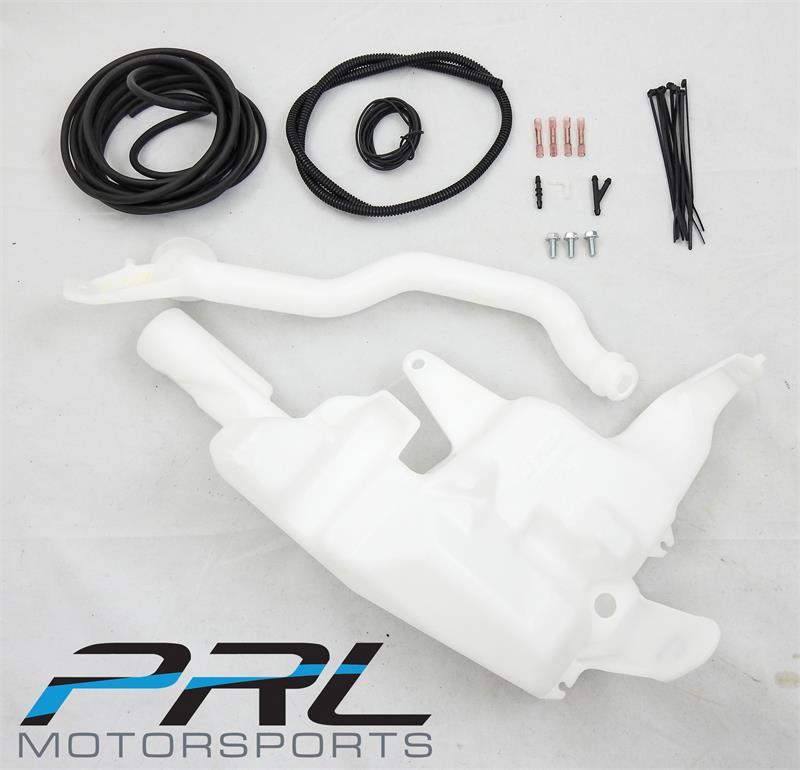
USDM Windshield Washer Reservoir Conversion Kit 2016+ Civic 1.5T |
Thank you to Dane and Andrew for assisting with this first ever install and providing all necessary pictures.
All other models skip steps 6-10
(Hatchbacks follow all steps including Step 6-10)
Step 1:
To begin, remove the bumper and skid plate for easy access. Cut the pump plug from the harness and solder 90 inches of the 18 gauge wire to the wires connected to the harness.


Step 2:
After putting a sleeve on the wires for added protection, feed the wires through the crash bar as shown below.

Step 3:
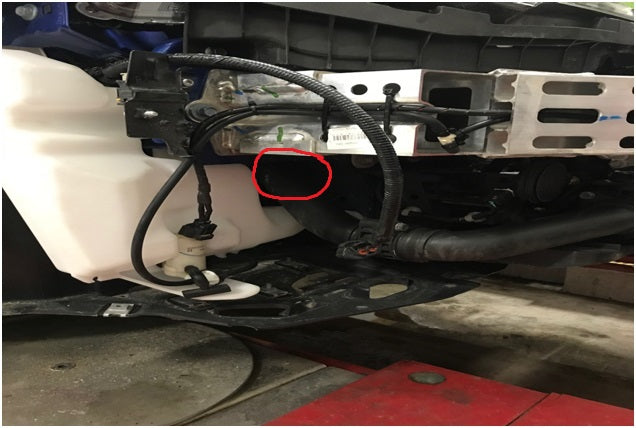
After feeding the wires through the crash bar, take the pump plug from the harness and solder to the wires on the other side where the American washer fluid bottle will be placed as seen in picture.

Step 4:
To ensure minimal movement of the wires use two zip ties to secure the wires to the crash bar. (Please Note: The Vehicle will no longer have use of the washer fluid level sensor as the US version does not have that option.) Cover the level sensor with electrical tape and place into the side of the crash bar to secure with one of the zip ties.

Step 5:
Remove the Canadian washer fluid bottle if you haven't already. Remove the pump from the Canadian washer fluid bottle and put into the slot on the US washer fluid bottle. Then place the US washer fluid bottle into position and plug the pump in. Be sure to leave a bit of slack with the wire between the washer fluid bottle and the crash bar and zip tie the wire to the crash bar.

Step 6: *Hatchback Only*
The hatchback needs two extra hoses and the reason for this is so that the rear window washer will remain operable. Use the two hoses in the picture below for a hatchback only.

Step 7: *Hatchback Only*
Take the hose that is connected to the rear windshield washer and feed it through the two zip ties on the crash bar that we used the wires for.

Step 8: *Hatchback Only*
Use a straight male to female plug to connect the hose (76899) to continue running it through the crash bar.

Step 9: *Hatchback Only*
Once the wire is through the crash bar then use a 90 to connect hoses 76899 to 78827.

Step 10: *Hatchback Only*
The open end of the hose, was then plugged into the pump.

Once this is completed you now have flow to the rear window. Remember these steps are only for the hatch. You can skip all the these steps for the sedan and coupe.
**Sedan and Coupe Continued**
Step 11:
Once completed you can carefully remove the clips from the underside of the heat shield under the hood. These can be removed carefully simply by putting your hands behind the shield and use 2 fingers to surround the plug and gently pull away from the hood exposing the hoses under the heat shield. Once removed alter the clips involved with the hoses. All holes are pre-drilled and the clips can be relocated from one side to the other but do so with patience and be gentle to not break the clips.

Step 12:
Once relocation of clips is complete take the existing hoses and route them the same way to the passenger side, remove them from the driver side and proceed to put the hose through the fender and feed them to the bottom where the pump is to connect them to the pump where circled on the previous picture above. These are the only steps that must be done with coupes and sedans.
Step 13:
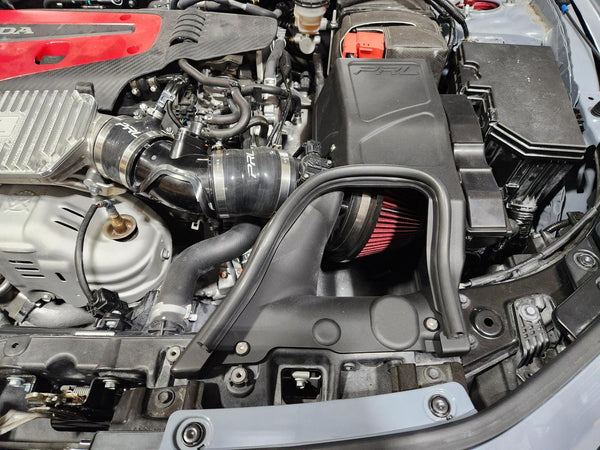
Now that the hose is connected to the pump the washer bottle can be secured to the inside of the fender using the same secure points from the Canadian bottle. Plug the washer bottle neck to the top of the bottle (use a little grease). Fill the bottle and test all hoses by turning the car to ACC and wash the windows. Use the cap from the Canadian bottle to put onto the US bottle. As long as fluid flows properly you can reapply the heat shield under the hood. Once completed continue the install of the Cobra CAI using the instruction guide provided by PRL Motorsports.


Comments (1)
When do you guys restock that washer fluid reservoir because i got my cobra cai intake and i need one because my 2018 honda si is canada made